Tyler’s apartment glow-up that cost less than $200

Meet Tyler – He’s our Email and Digital Content guru on the marketing team, and self-proclaimed apartment fixer-upper. He recently moved into a 534 square-foot studio apartment and leveraged a budget of $200 to get the most use out of his space. Follow along as he shares his tricks for optimizing every inch of space in his cute studio unit!
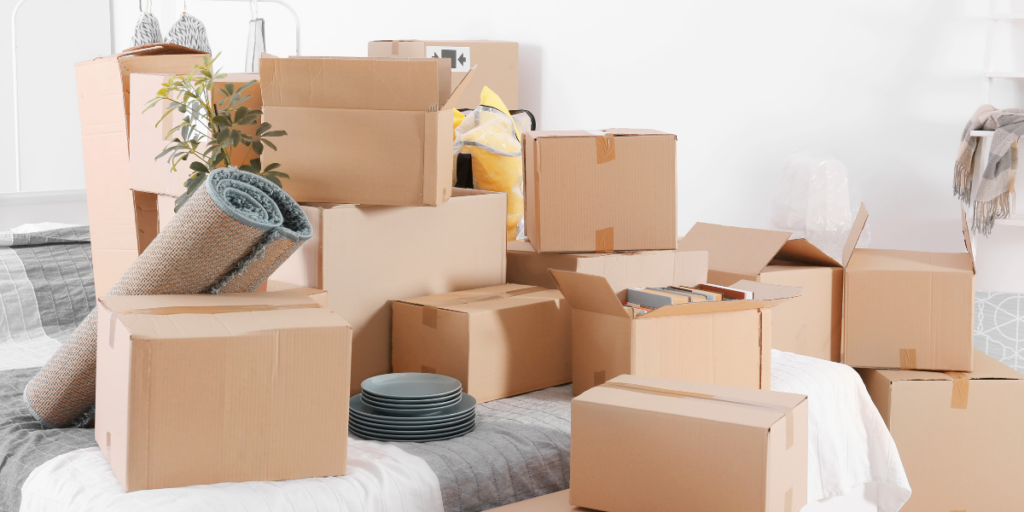
Hi everyone! I’m Tyler and I’m here to share how I completely redecorated my apartment for less than $200. Whether you’re downsizing to a smaller place or upgrading to more square-footage, it takes a few bucks to make the space/layout work to your advantage. In my case, I moved from a house full of roommates in South Austin to this cute little studio on Eastside. Don’t worry – it’s easy, and it only requires three easy steps.
Step 1 – Know what you’re moving and how big they are.
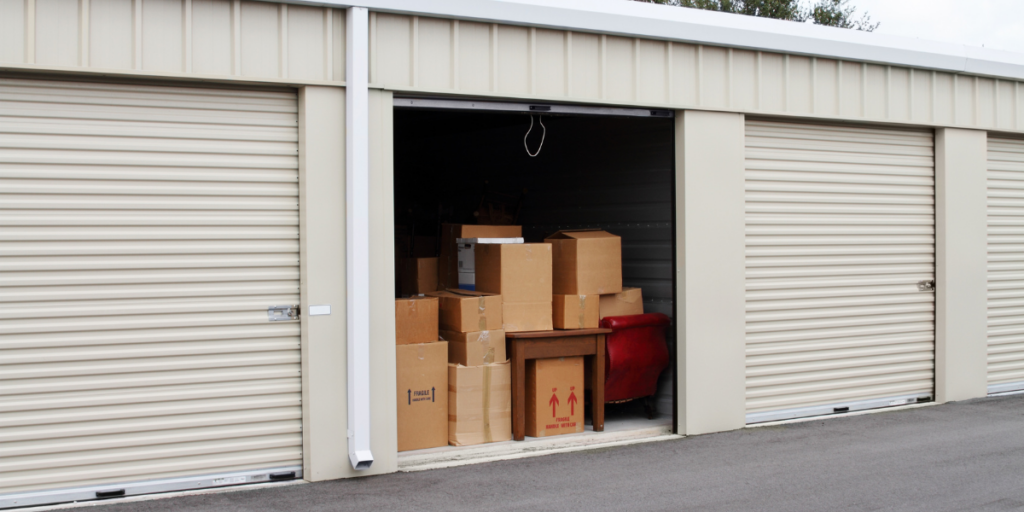
When I downsized to my studio apartment, I wanted to make sure I was fully utilizing my space. Before I even started touring apartments, I took inventory of all my furniture and how big each piece was. That way (you’ll want to pay attention here), as I toured units, I could accurately visualize how what I had would fit. This (and bringing a tape measurer with me when I toured) helped me decide what made the moving list and what would get kicked to the curb.
Here’s what I knew was coming with me for sure:
* King-sized mattress and box spring
* Tall decorative mirror
* TV and TV stand
* Tall Chest
Step 2 – Download your floorplan and lay out your sh*t.
Alright, so we picked our moving date, got a list from our Smart City apartment locator, toured, signed the lease, and now it’s time to plan out our move. I downloaded my floorplan to my iPad and began marking up what would go where, and what I’d need to complete the lewk.
I like to separate common space for dining/entertaining. But, considering how close that would all be to where I would also need to sleep and work, I knew that’d be tough to accomplish. But, guess what- we made it happen, honey!
With less than $200, I added:
* Fold-away table/desk
* Dresser
* King-sized bed frame
* Couch
* Chalkboard wall
Here’s how I did it…
Step 3 – Stick to the budget no matter what.
This is the toughest step to cost-efficient glow-ups, hands down! Our budget is $200 – let’s do this. (Read closely, because if you skim, the math won’t add up.)
The fold-away table/desk – $60
I did some research and stumbled upon fold-away desks (thank you, Ikea). I found the one that I wanted and had it delivered to me because my local store didn’t have any in stock. (Side rant: if I was the only person who didn’t know about these then, wow, I feel dumb.)
Cost: -$60; Remaining: $140
The dresser – $95
While setting up my closet, I noticed that there was a space large enough for a dresser of some sort, which got me thinking. In order to be able to entertain in my apartment, I don’t want my clothes all over the main living space – therefore, my Tall Chest would need to be moved from the living space into the closet.
Unfortunately, not my chest, so I took measurements and started doing research (again). Guess what – I found something that would fit perfectly in my closet. Of course, it was also from Ikea. But, I had to have it so I grabbed the essentials (phone, wallet, mask, etc) and headed to Ikea.
Cost: -$95; Remaining: $55
Now, this is where it gets fun…
Budget intermission…
Knowing that my tall chest was no longer useful in this apartment, I turned to Facebook Marketplace and listed it for $250. I honestly don’t remember how much I bought it for, but it served its purpose and it was time to part ways. Within 24 hours, I had a buyer for $200 and they came and picked it up the next day.
That sale drove me up to a budget of $255. So, back to searching, I went.
The chalkboard wall – $25
Somewhere in the midst of all of the craziness, I decided that I wanted to do a wall art project. So I went to Pinterest and came up with the crazy idea of a geometrically-shaped chalkboard wall. I bought the tape and paint and got it done.
PSA – make sure you know the bounds of your lease agreement and what’s acceptable when it comes to painting prior to doing a project such as this. I recommend chatting with someone in your leasing office about it.
Cost: -$25; Remaining: $230
The couch and bed frame – $90
Going back to the thought of entertaining, I felt like my living room area was large enough for a small couch for people to sit on. After upping my weekly screen time report and scouring Facebook Marketplace, I found a couch and a bed frame! The couch was the perfect size to sit right at the end of my bed (seriously, always have a tape measurer on hand).
Both items totaled a whopping $90, leaving me with $140 in my budget. If you look at what I spent, it totals right at about $270. However, getting crafty and taking a chance by selling what didn’t fit my apartment vibe kept me well within my budget and left me with a little pocket change! The real moral of this story though? Measuring tapes, Ikea and Facebook Marketplace are an apartment renter’s best friend when it comes time to move or refresh your design.
If you’re looking for professional design tips to spruce up your apartment aesthetic, you can find the best info here! If the indoors don’t pique your interest, try these tricks for elevating your balcony space!